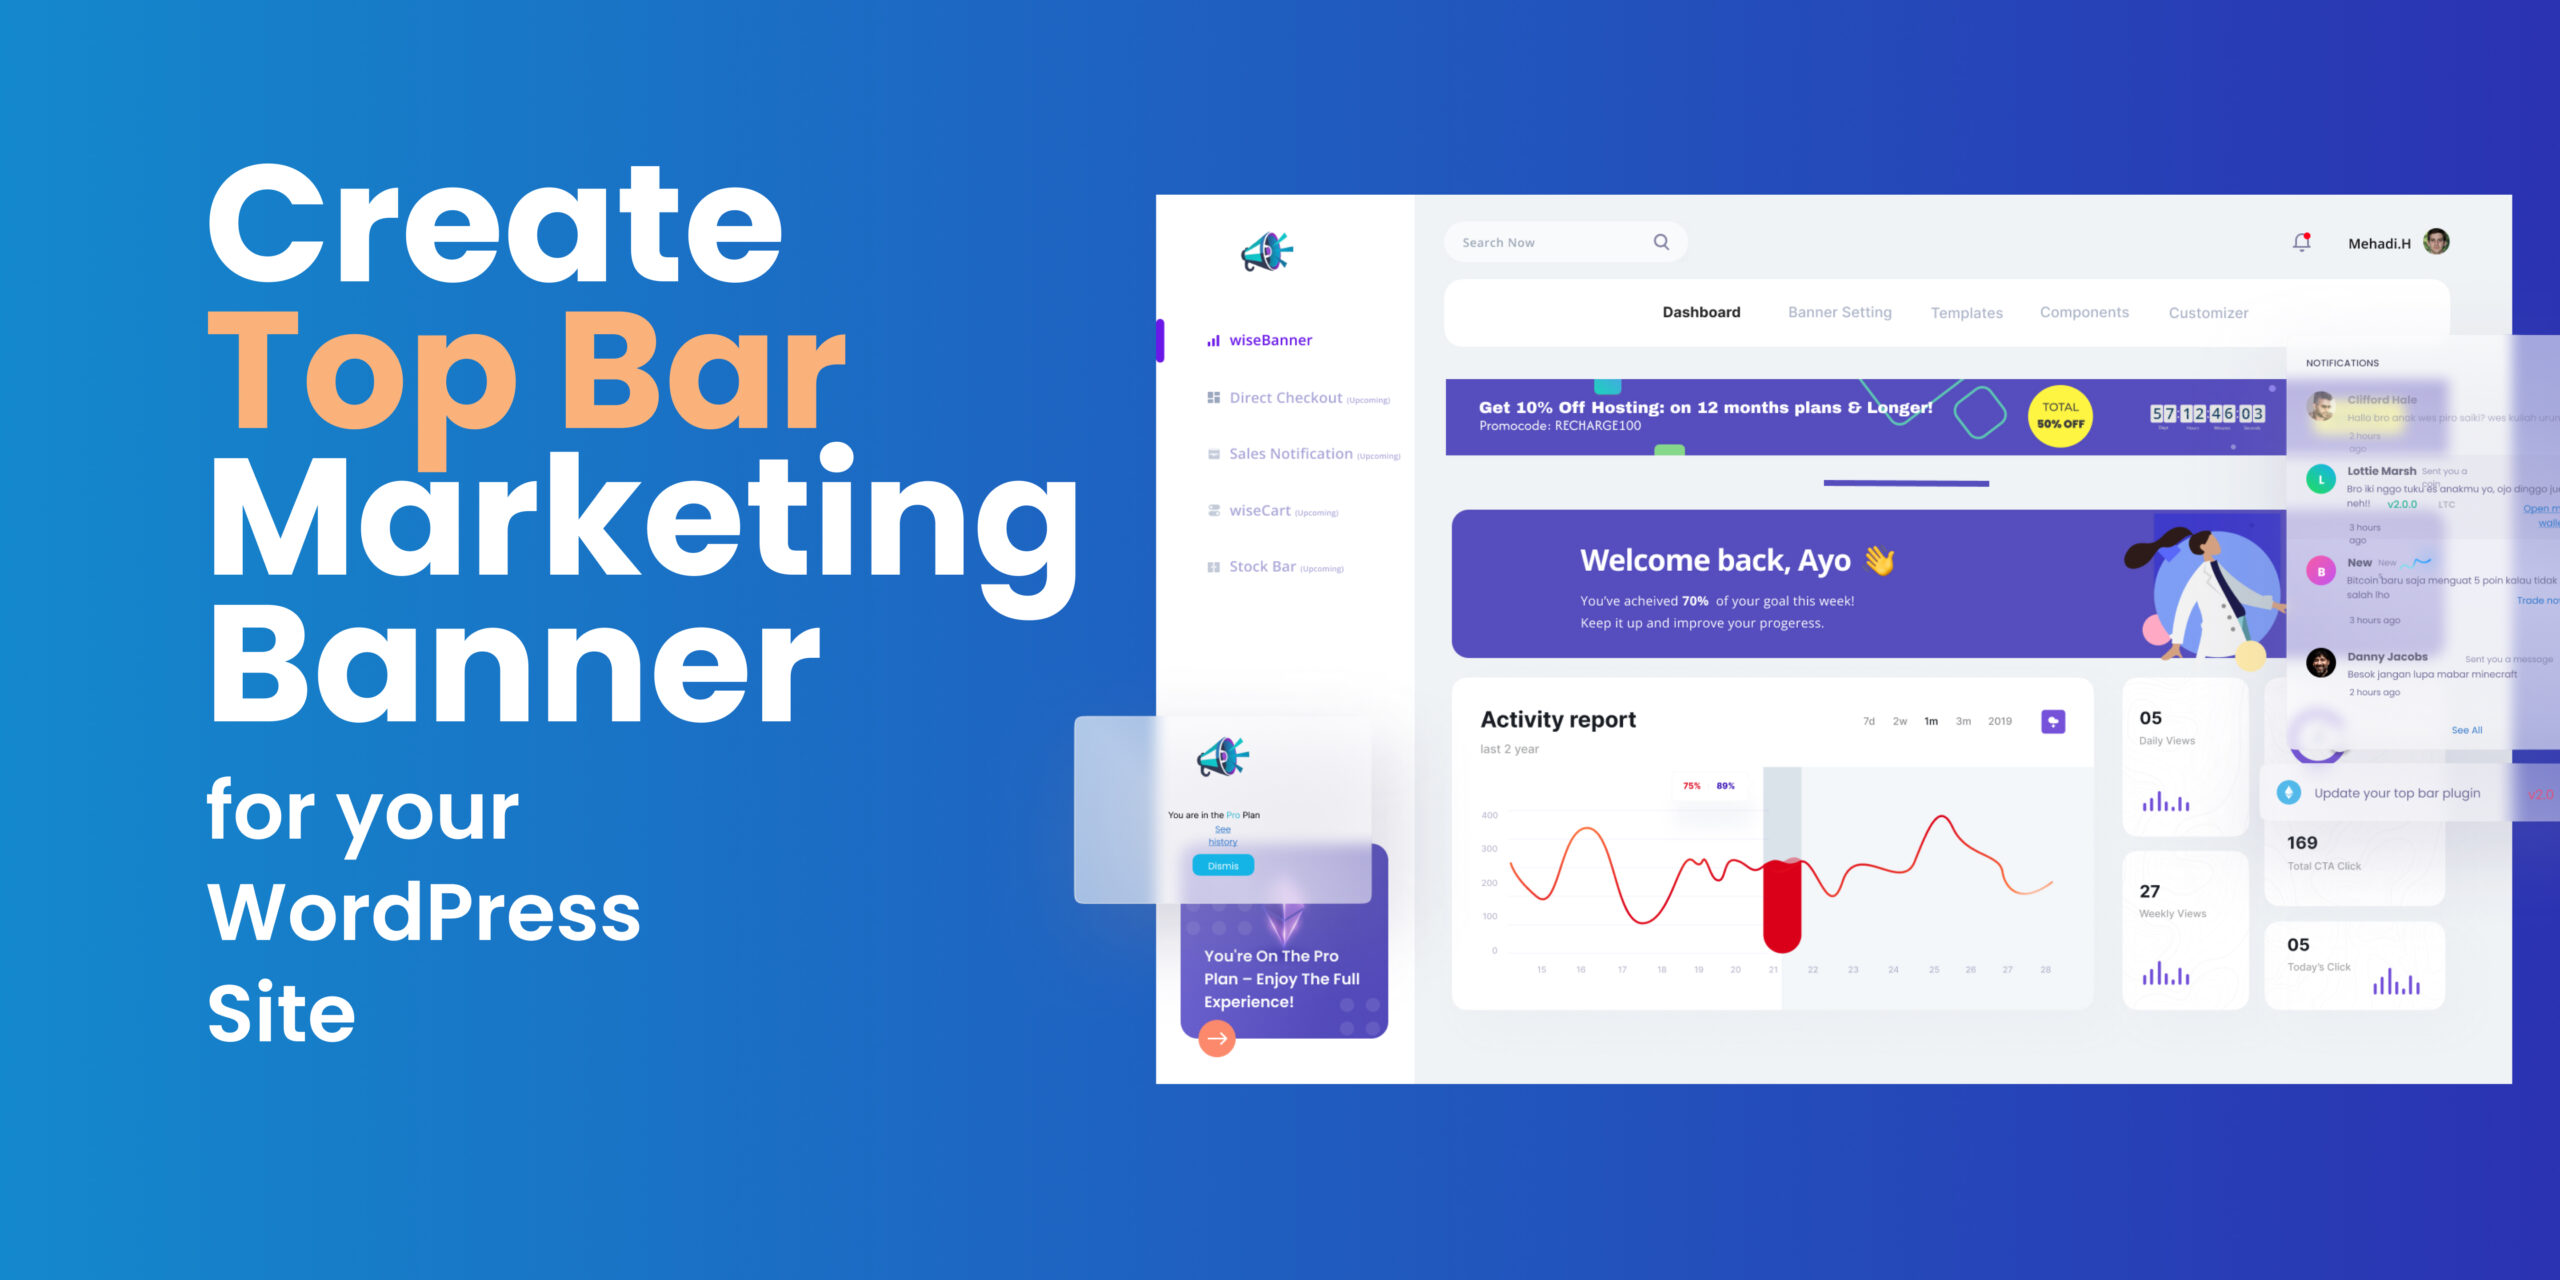
A top bar marketing banner effectively captures the interest of visitors visiting your WordPress site. You can use it to tell people about sales, new products, or important news.
Using the wiseCampaign plugin makes it simple to create and modify your top bar banner without any coding skills required. Let’s get started!
Why you should Use a Top Bar Marketing Banner?
Before we start, let’s talk about why a top bar banner is helpful:
- Grabs Attention: It’s the first thing people see when they visit your site. This is a good spot to share important messages.
- Encourages Action: A clear button can make visitors want to click and learn more or buy something.
- Quick Announcements: It helps you share news or special offers quickly.
- Works on Mobile: A good banner will look nice on both computers and phones.
Now, let’s see how to create and customize your top bar marketing banner using wiseCampaign.
Step 1: Install and Activate wiseCampaign
Start by adding the wiseCampaign plugin to your WordPress site. Follow these steps to get started:
- Log in to your WordPress dashboard.
- Click on Plugins in the left menu, then choose Add New.
- In the search box, type wiseCampaign.
- When you find the plugin, click Install Now and then proceed to click Activate.
After activation, a new menu option for wiseCampaign will appear in your dashboard. You’re all set to start creating your banner!
Step 2: Create a New Campaign
Next, you’ll create your top bar banner.
- Click on wiseCampaign in your dashboard.
- Then click on Add New Campaign.
- Choose Top Bar from the options.
- Give your campaign a name like “Special Offer” or “New Arrival.” This helps you remember what it’s for.
Now you’re in the campaign editor, where you can design your banner.
Step 3: Design Your Top Bar Banner

Here’s how to make your banner look great:
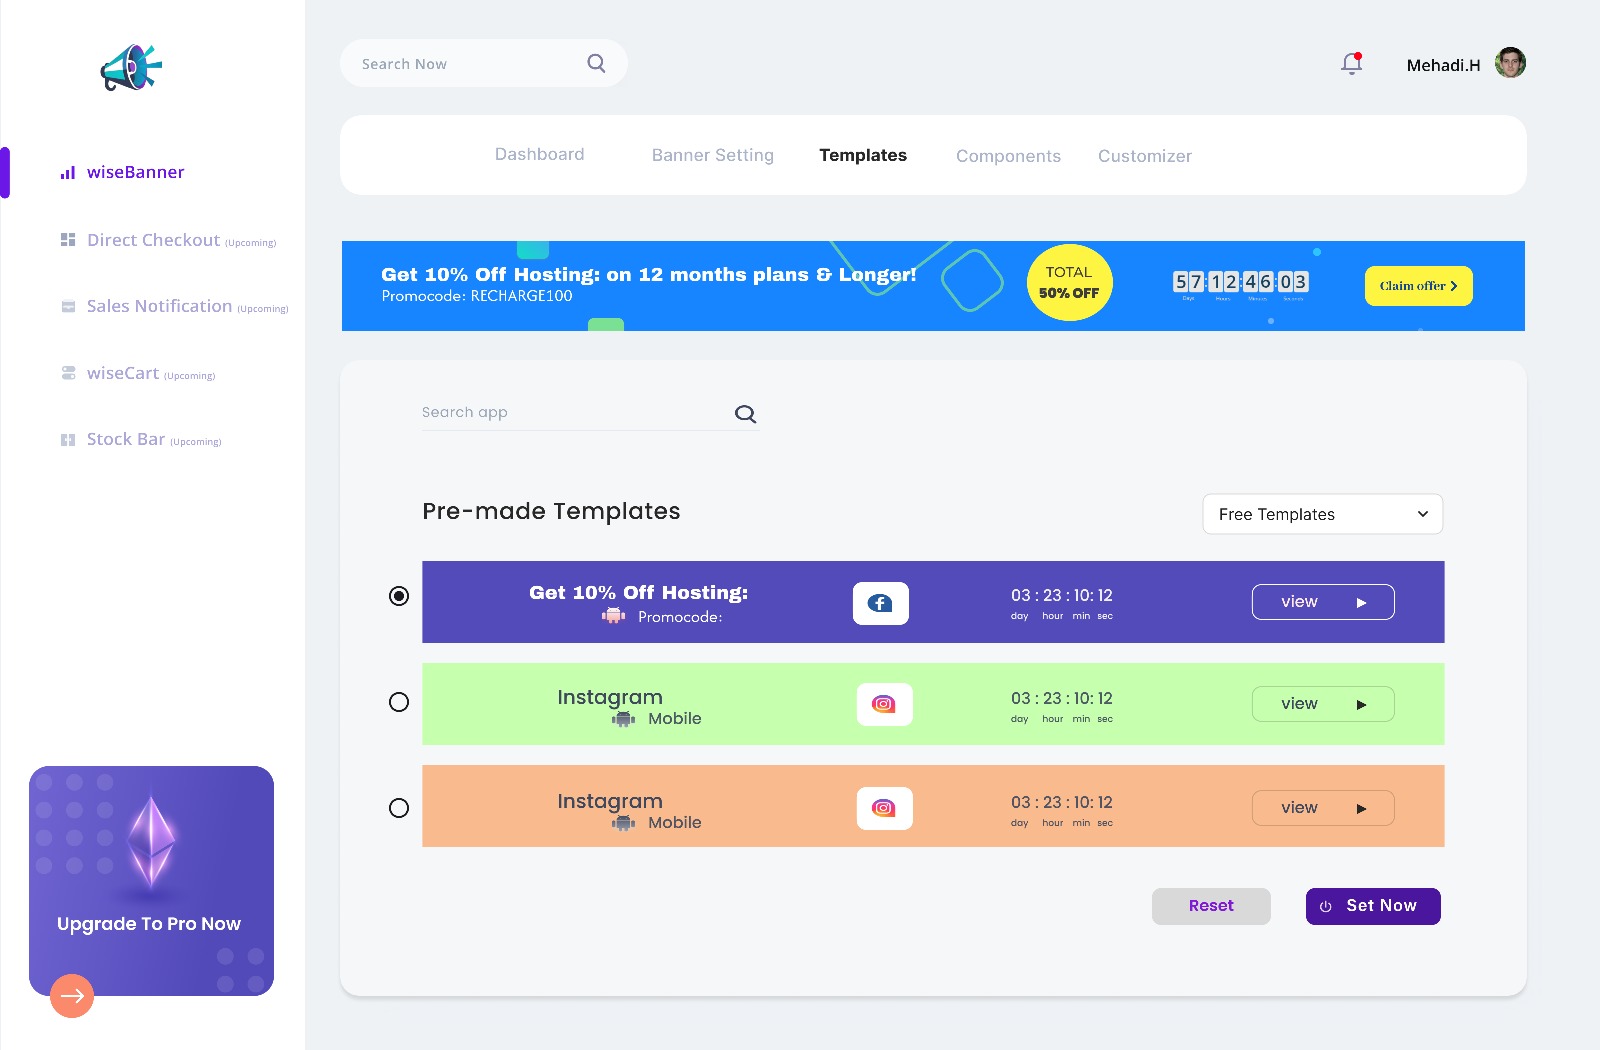
- Choose a Background: You can pick a color or add an image. A solid color usually looks clean and professional.
- Write Your Message: Make it quick and easy to understand, like “20% Off!” or “Free Shipping on Orders Over $50!”
- Text Style: Adjust the font and size to ensure it’s easy to read.. Choose a attractive color that stands out against the background.
- Add a Button: This is essential for directing visitors on what to do next. You might choose phrases like “Shop Now” or “Sign Up.” Ensure the button is prominent and colorful for easy visibility.
- Include Your Logo: Including your company logo can enhance the professionalism of your banner if you wish.
Step 4: Schedule Your Banner’s Visibility

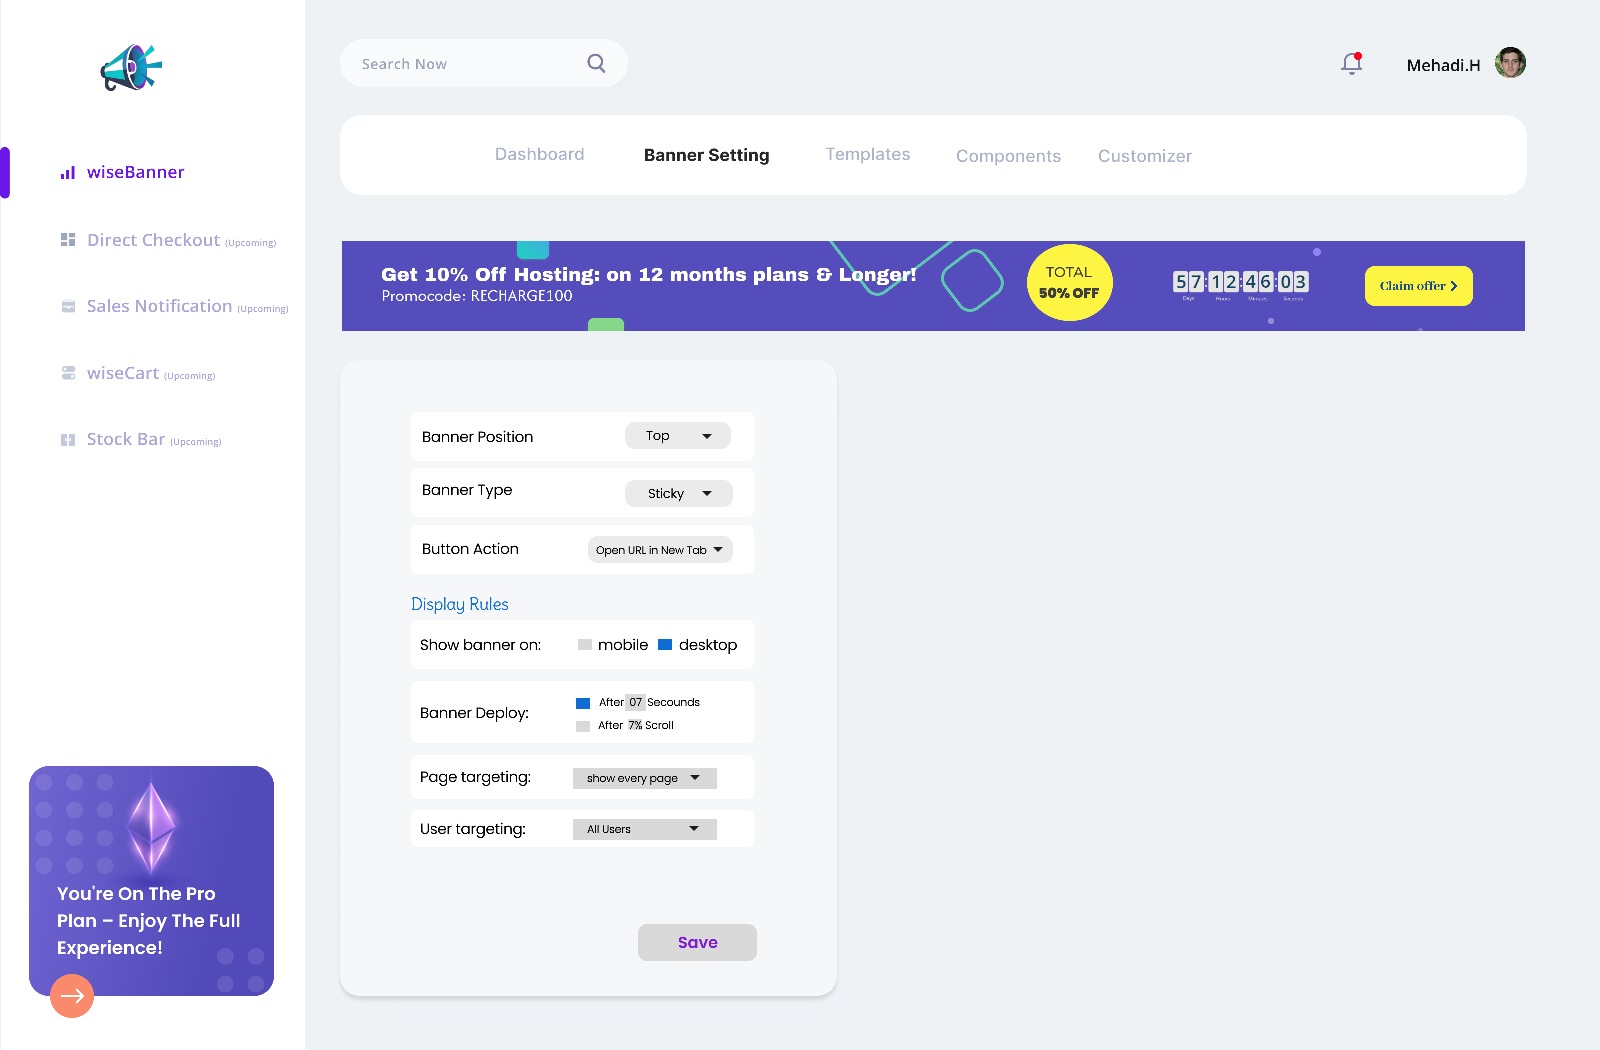
wiseCampaign lets you choose when and where your banner appears. Here’s how:
- Select Pages: Decide if you want the banner to show on every page, just the homepage, or specific pages like your product page.
- Target Audience: You can choose to show the banner to everyone or only to new visitors.
- Set Dates: If your banner is for a special offer, you can set it to show up on certain dates.
- Scroll Trigger: You can make the banner appear after visitors scroll down a bit. This way, they can read some of your content first.
- Frequency Control: If you don’t want visitors to see the banner too many times, you can set it to show only once per day.
Step 5: Preview Your Banner
Before you make your banner live, it’s good to check how it looks.
- Click the Preview button in the campaign editor.
- Look at how the banner appears on both desktop and mobile views.
- Make sure everything looks nice and works properly.
Step 6: Publish Your Banner
It’s time to activate it and make it live, When you’re pleased with your banner.
- Press the Publish button in the editor.
- Your banner will now show up on your site according to the settings you chose.
Great job! Your top bar banner is now ready for visitors.
Step 7: Check How Your Banner is Doing

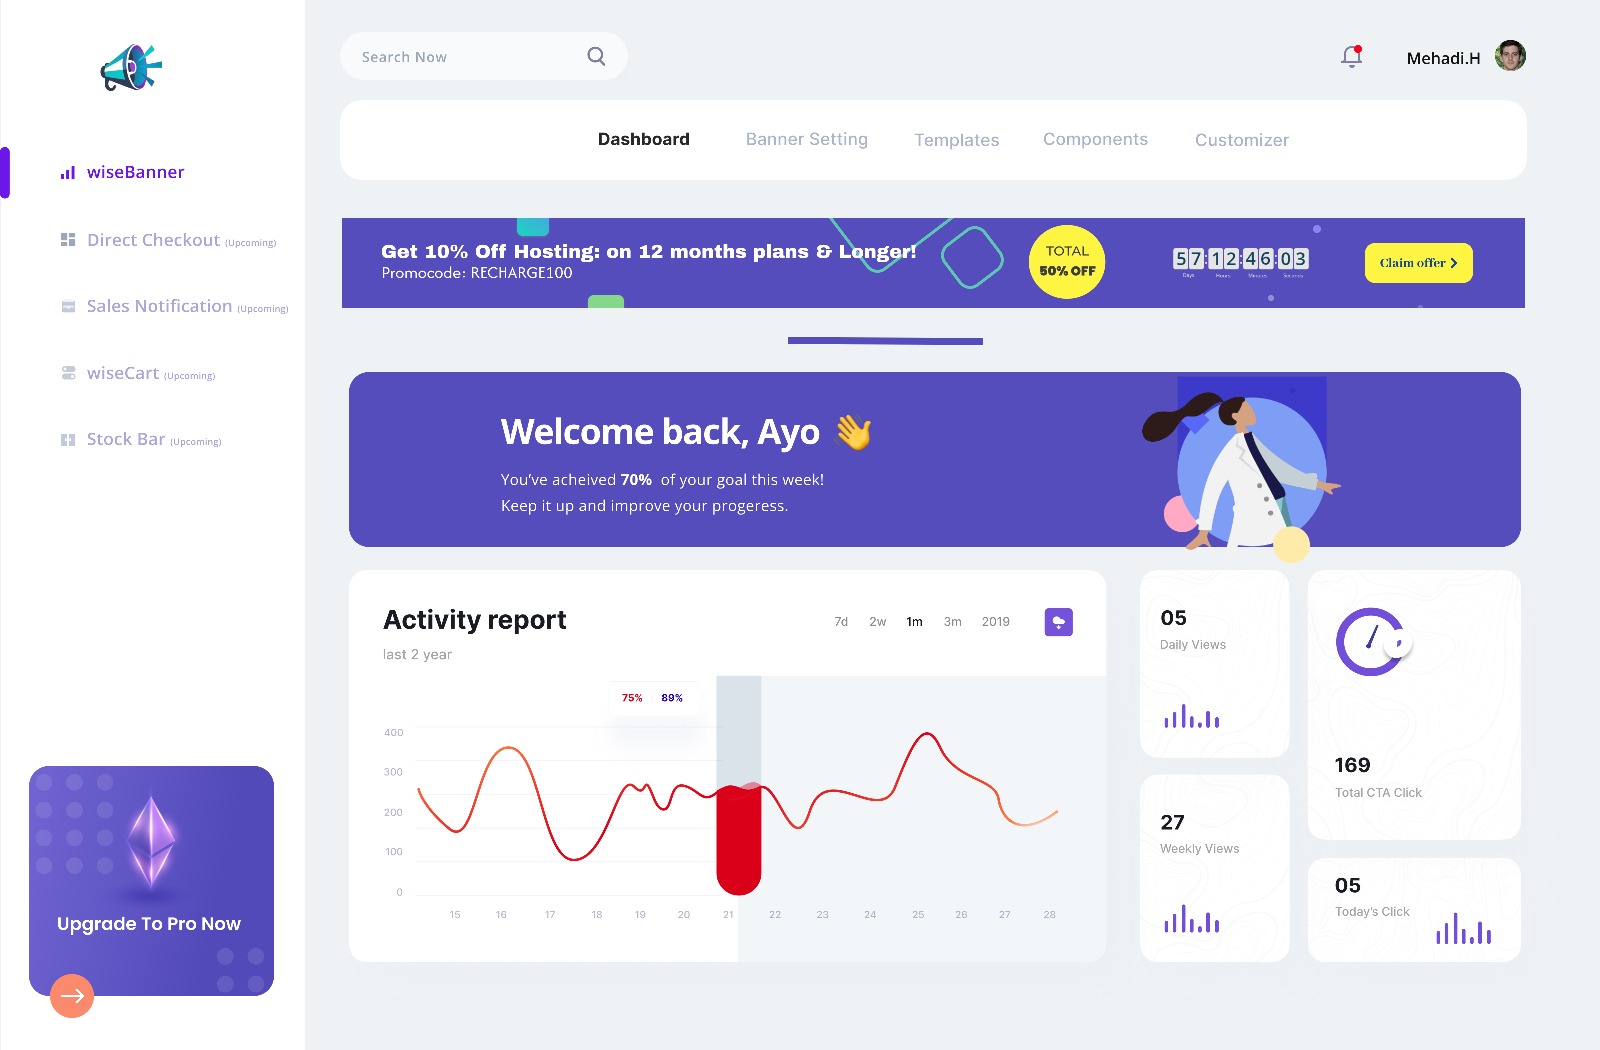
After your banner is live, you can see how well it works using wiseCampaign’s simple analytics.
- Impressions: How many times people see your banner.
- Clicks: How many visitors clicked on the button.
- Conversions: If your banner is supposed to get people to do something, you can check how many do it. If it’s not working, you can change it to improve.
Tips for a Great Top Bar Marketing Banner
Creating a good top bar marketing banner is important for grabbing visitors’ attention. Here are some helpful tips to ensure your banner effective:
- Keep It Simple: Don’t put too much text on your banner. Make sure the message is clear and attractive.
- Use Bright Colors: keep in mind that your text and button must stand out with contrasting colors.
- Strong Call-to-Action (CTA): Use easy CTAs to prompt action, such as “Check It Out” or “Sign Up Today!”. This tells visitors what to do next.
- Limit Text: Use only a few words to convey your message. Focus on the main point.
- Make It Mobile-Friendly: Check how your banner looks on phones. It should be easy to read and click on mobile devices.
- Check Performance: Look at how well your banner does. Use the data to improve future banners.
Have any Questions?
- What is the wiseCampaign plugin?
-wiseCampaign is a WordPress plugin that helps you create and manage banners, like top bar marketing banners, to promote announcements, offers, or messages.
2. How do I install the wiseCampaign plugin?
-Go to your WordPress dashboard than click “Plugins,” then “Add New.” Search for “wiseCampaign,” click “Install,” and then activate it.
3. How do I create a top bar marketing banner with wiseCampaign?
-After activating the plugin, go to the wiseCampaign settings, select “Create New Banner,” choose “Top Bar,” and customize your message, colors, and button. Save your changes to make it live.
4. Can I personalize the design of the top bar marketing banner?
-Absolutely! You can change the colors, fonts, and buttons of the banner to complement your website’s overall design.
5. How can I track how well my banner is doing?
-wiseCampaign provides analytics so you can track banner views, clicks, and performance from the plugin dashboard.
6. Can I set a schedule for my top bar marketing banner to be displayed?
-Yes, you can select exact dates and times for the banner to show up and go away.
7. Can I display multiple top bar marketing banners using the wiseCampaign plugin?
-Yes, you can create and manage multiple top bar marketing banners with the wiseCampaign plugin, allowing you to run different promotions or announcements at once
Final Verdict
Using the wiseCampaign plugin, you can create a top bar marketing banner for your WordPress site that engages visitors and boosts conversions. If promoting sales or sharing updates, it delivers your message clearly and quickly.
The wiseCampaign plugin is easy to use with no coding required. You can customize your banner, set display rules, and track its performance to ensure it meets your goals.
Start using wiseCampaign today to create an eye-catching top bar banner that will attract visitors and elevate your site’s success!

Leave a Reply